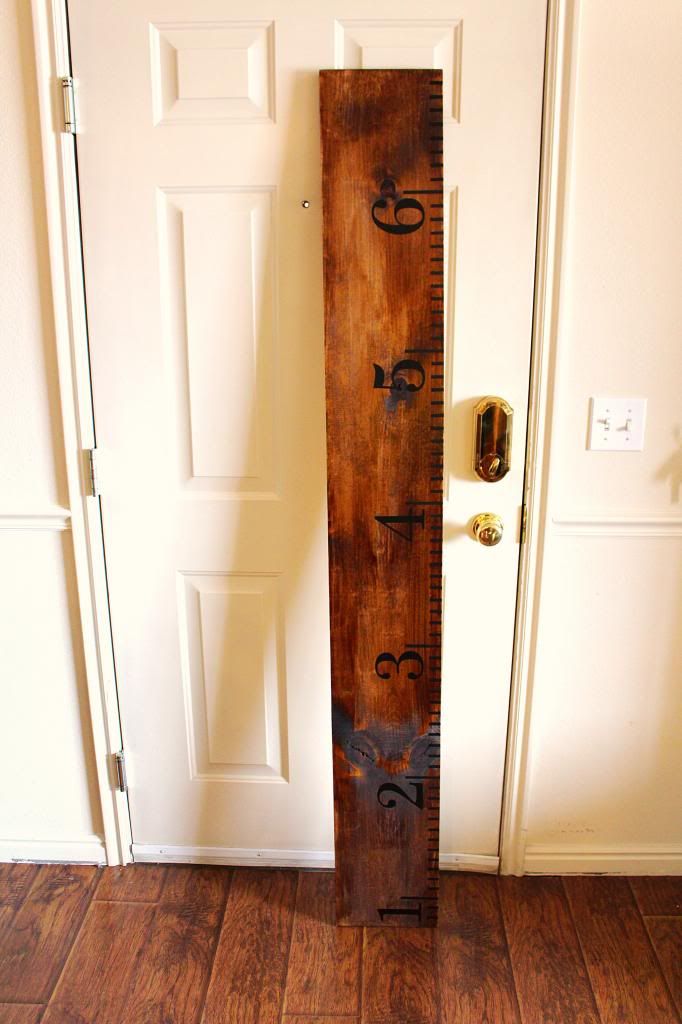
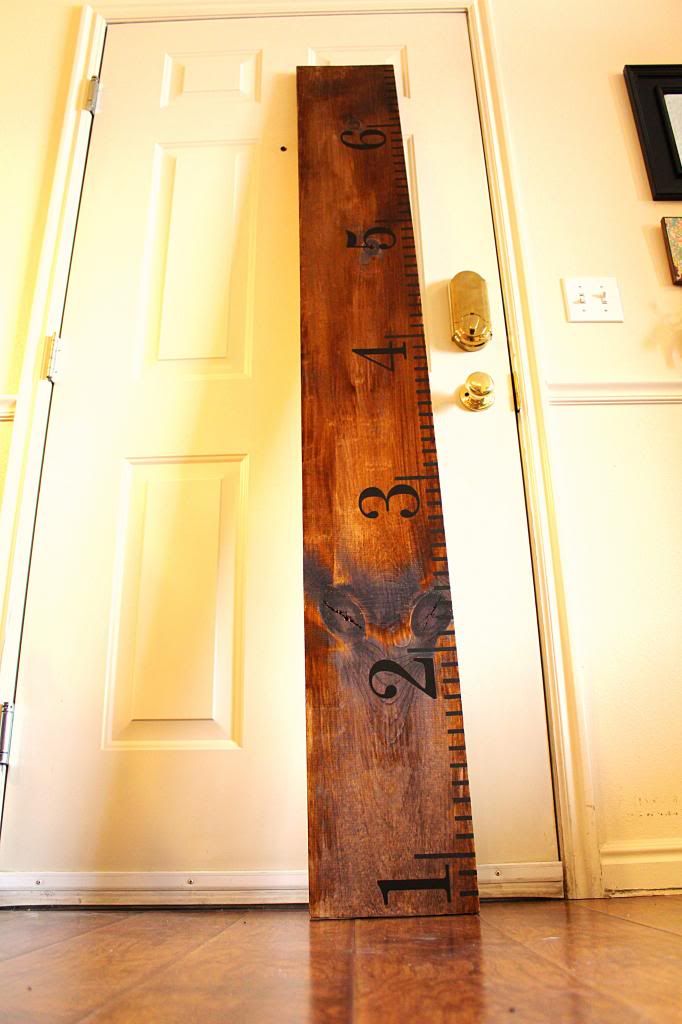
Today I finished making Anders a growth ruler! I have seen these for sale on Etsy for $50 plus $15+ shipping. Whoa! But I really love them! Therefore I decided make it myself.
Here's what you need:
- a plank of wood; I used a board that was 9in x 6ft x 1in - $6
- stain - already had some but you can get it @ Lowe's $6
- paint brush - already had one but you can get one for $3 @ Lowe's
- vinyl or black paint - $7.80
- measuring tape
- picture hanging hardware - $1.50
Total for Me: $15.30 Total if you don't have everything: $24.30
 I went to Lowe's and got a 9in x 6ft x 1in plank of wood. I am not sure what type of wood I just looked for the cheapest one : ) But make sure it is pretty straight and lies flats! When you hang it up you want it to lay flat along the wall. You'll also need to pick out a stain you like and a paint brush. This is the stain that I used. I only did one coat and it was the perfect color.
In a well ventilated area stain the wood (I only did the front and sides since no one will see the back) and let it dry. I let mine dry for a couple days.
 Next you will mark the inch and foot marks on the board. I am fairly certain my children will be over 6 foot tall as their father is 6'5" and I'm no shorty either. That being said I wanted my ruler to reach at least 6'5". So I decided to have my board hang 9 inches above the floor; which would allow my board to reach a height of 6'8". Find what works for you! After you figure out what inch you want your ruler to start on take a measuring tape and lay it along the edge of the board and with a Sharpie mark each inch and foot marks. Like so.
 This next step requires choosing whether you want to use vinyl or black paint or Sharpie. I chose vinyl because I don't trust my painting skills and the Sharpie doesn't look as good in my opinion. I had some black vinyl already that I cut the dashes out of. My inch dashes are 1 inch long and 1/4 inch thick and my foot dashes are 3 inches long and 1/4 inch thick. Then on Etsy I found a lady that makes vinyl numbers 1-6 that are 4 inches tall. So I ordered them for $7.79. Here's the link. She has a lot of other cute vinyl wall decals too! I just ordered a bunch from her....you'll see them in our new apartment! Anyway, next you will lay the vinyl dashes over your marks you made with the Sharpie and press them down really good. Then I decided to put my numbers in front of the foot dash mark but you can put them where ever you want.
The last step is to add hanging hardware. I haven't decided which to use yet but both will work!
Here is the finished product! I LOVE it and I can't wait to show you what I have planned for this!


.jpg)
.jpg)


.jpg)
