Tuesday, January 29, 2013

{diy wedding gift ideas)

What do you get for an aunt that is getting married who has everything already? Hmmmm....sounds like time to do a little research on Pinterest! My mom and I decided to make His and Her aprons because they like to cook and a framed message board. Here was our inspiration (click on pic for pin):


I wish I had thought to take pictures of the aprons and message board before we wrapped them because they were way cute! For the message board we took a pretty 8x10 frame and put this beautiful scrapbook paper with "p.s. I love you" printed towards the bottom. Then we hot glued some fabric flowers to the corner like in the picture. 

Who ever started the whole using a picture frame as a dry erase board fad was a genius. You can use them for anything! About six months ago I made these little beauties. I love fun colors, stripes and polka dots for my kitchen. 


My mom made me the calendar last year for Christmas!

I loved this idea from Pinterest! I just check off and date when I complete something.

Helps me remember what the heck I'm suppose to do!

This is my Insanity Program workout schedule. Since I just completed that I am wondering
what else I should put in this frame?


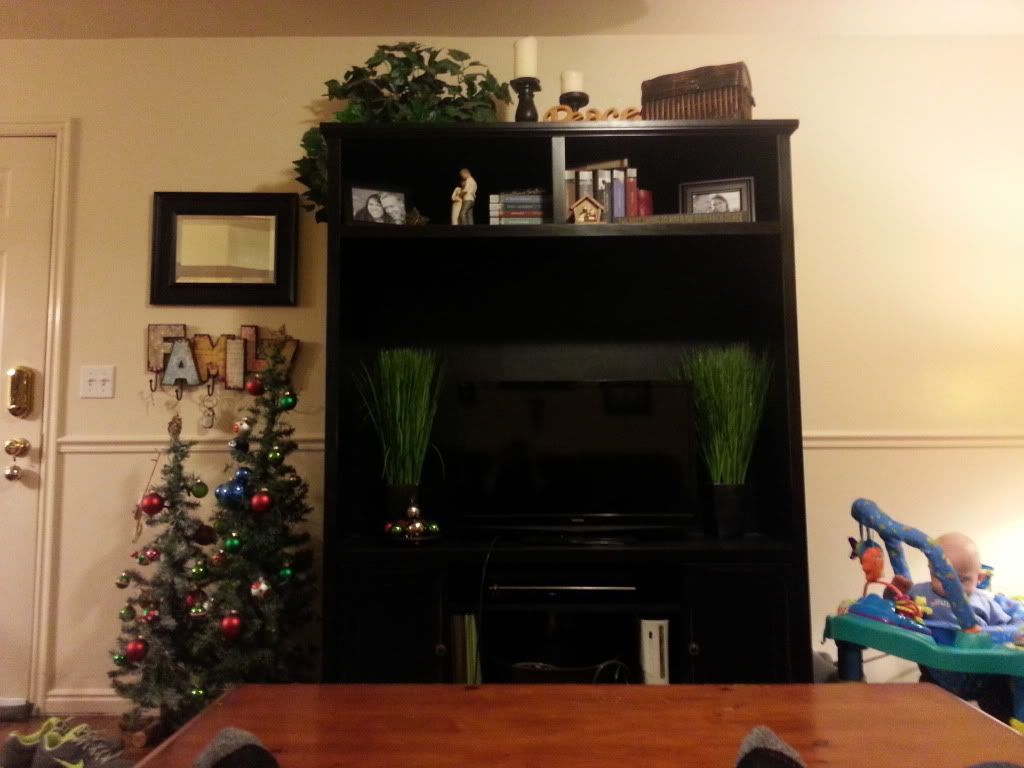
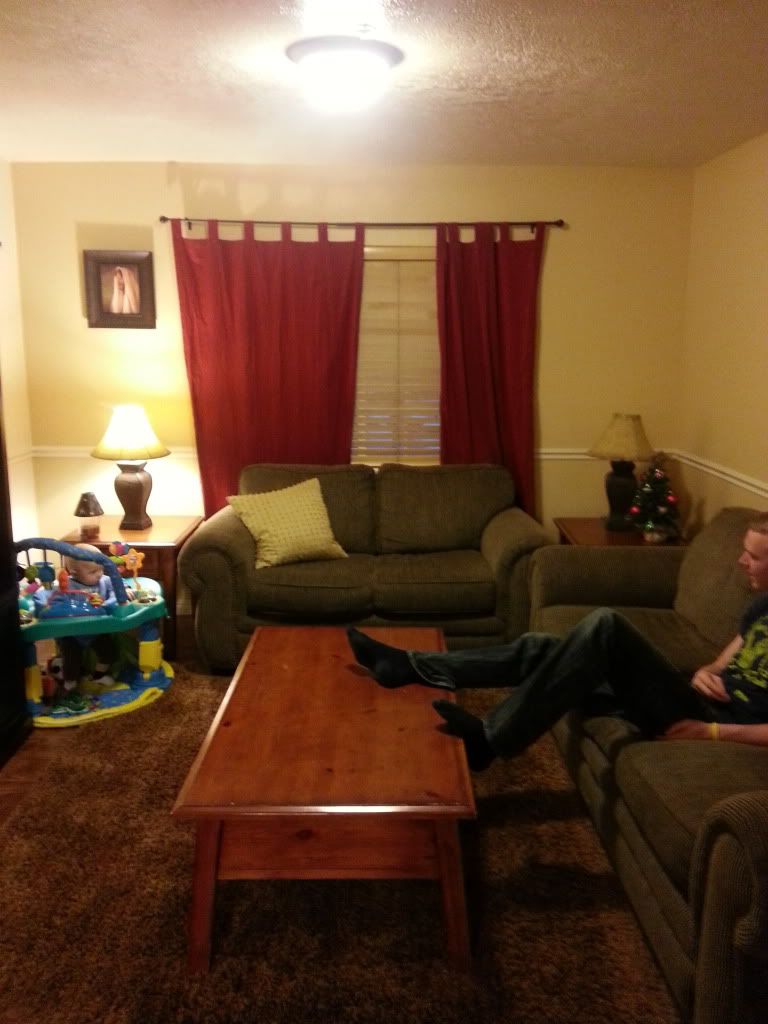
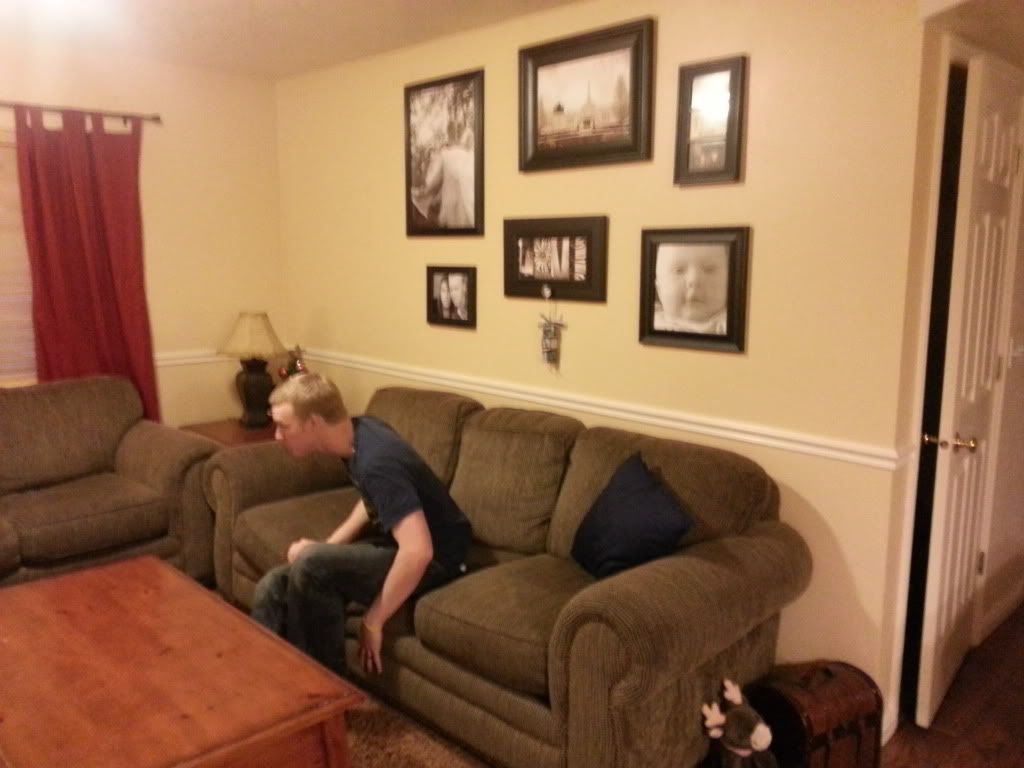
So many things you can do with pictures frames! That's why I have an obsession with them. I have about a hundred different black frames. A lot you will see in my family room make over!

Anyway back to DIY wedding gifts. Another one that would be super cute is the Scrabble magnetic board! I have two and I love them! My mom and Garett both made me one for Christmas without knowing it haha. We have one by our kitchen covering up the circuit box. Everyone plays with that one. And then we have one in our bedroom for us to write messages on : )

The one Garett made me!
The one my mom made me!


One day I might Modge Podge some cute paper onto it but I kind of like the metal. But I think this would be a fun and unique gift and it is inexpensive. Find a frame at a thrift store ($5 or so) and paint it whatever color you want and go to Lowe's and they will cut the sheet metal ($8) to whatever size your frame is. I find Scrabble games at thrift stores too. They are pretty popular since Pinterest so whenever I see one I grab it! I got one the other day for $1.50. Or if you are like my family we already had two Scrabble games and just used those. Then all you have to do is get that magnetic tape from a craft store (no more than $3) and you are set!

After we finished the gift for my aunt we needed a card. I wanted something a little more personal than a store bought card so I decided to make one. I had pinned one I like so I used that for inspiration. 

Pinterest Inspiration
My creation
Supplies for Wedding Card
blank card or card stock
black and white card stock
pretty paper for dress
letter stickers
semi thick double sided tape
embellishments - I used pearl stickers and flower brads both can be found at any craft store

1. To make the card I used a blank cream card that I already had (or you could use card stock to make your own base card). I chose cream so the neck of the bride would be skin color.
2. Cover half of the front of the card with the black card stock. Cut out an elongated diamond shape out of the white card stock for the white shirt. Glue it on so it sticks out above the base card like in the picture. Then cut out the jacket lapels. (Sorry I just eyeballed these and the shirt pieces so I don't have a template, but it is really easy to do!) I used the thick double sided tape to attach these to the card so they would stand out. Also cut out two little triangles for the bow tie and glue them on. Lastly, add the embellishments. When I did the flower I poked the card with a push pin first because the brad wasn't sharp enough to go through all the card stock.
3. Now the bride side. Again I just eyeballed the dress. I drew it on the paper and then cut it. You can have fun with this and do whatever shape you want! I just wanted a dress shape big enough at the bottom so I could use the black stickers. Glue the dress on and then add the embellishments.
4. Now you can put anything you want on the card. Initially I was going to spell out LOVE but I had enough letters to do the Mr. & Mrs. so I went with that! The possibilities are endless!
5. On the inside to hide the brads you can glue in cute paper or a photo or whatever you want.
 
Homemade gifts are awesome! If I know the recipient well I will do a homemade gift, because I know they will appreciate it. If I don't know the person that well I honestly don't want to waste my time on something they may not even like, so I stick to their registry.

I got some homemade gifts for my wedding and I loved them! Here is one that I absolutely adore and it's on my wall right now! It's made out of a cabinet door! Awesome!


I didn't make it but I can tell you how to make it! 

1. The base is a cabinet door! You could find one at any hardware store or if you can score one at a thrift store that would be cheaper. I have also heard of people finding them for cheap in the "As Is" section at Ikea. 
2. Paint the cabinet whatever color you want. 
3. For the picture you could do any picture you desire or if you want to spell something get creative and find the letters in everyday things around you. I also know that Hobby Lobby has picture letters both in color and black and white. 
4. Sand the area you want to put the pictures with a medium-grit paper. It will help the paper stick to the wood better! 
5. Apply a thin coat of Mod Podge to the sanded area. While that dries apply a thin layer to the back of the photos. 
6. Once the Mod Podge on the wood is dry to the touch lay the photos where you want them and smooth them out using either you hand or a flat edge for a couple of minutes. Work from the center to the edges. 
7. Allow the glue to fully dry for 2-3 hours then apply a a thin layer of Mod Podge to the surface of the photos. Let dry 3-4 hours then apply another coat and let it dry over night.
8. Lastly, find a sweet decorative knob! Hobby Lobby has a lot and they are always 50% off!   


Saturday, January 26, 2013

{snowboarding}


Yesterday we had an awesome ward activity. We went up to Sundance for night skiing! It was so fun. We got Katrina (Garett's sister) to watch Anders and we packed up our boards for the first time since we've been married! I started snowboarding when Garett and I first met. Then we got married and then I got pregnant so I couldn't tear it up last winter : ) So I was a bit nervous yesterday just because it had been so long since I've gone. But thank goodness it was like riding a bike and it all came back! I only biffed it a couple times. Of course Garett looked like a pro out there; the lucky guy grew up on a ski resort.

It was fun to get to know people in our ward better. Our Bishop is an avid skier so it was fun to see him out there too. The ward also rented a room in the lodge so we could come in and warm up and eat chili and pizza. It was a fun night but I was excited to get home and see the little man again!

On the lift with our friends the Kirbys


I sure love this guy!

Wednesday, January 23, 2013

{family room make over}

We are very blessed to live in the apartment we live in! Garett and I manage apartments for my aunt and in exchange for that work we get to live in one of her fully furnished apartments. Such a blessing in our lives right now. However, I was tired of my dark decor in the family room. I needed to lighten it up. Below are the before pictures. No, my Christmas decorations are not still up haha. I took these at the beginning of the month : )


It doesn't look super dark in the pictures but that is because every light in the house is on haha. I am just tired of the reds and blues and solid colors. I want something cute and I would like more patterns too.  My budget is around $75 dollars. I have already started collecting new decor and finished a couple projects. I would love to paint but that is not in the budget and we are just renting. It is already starting to look so much better and brighter. As soon as I finish I will post new pictures and include the tutorials I used for my projects. So excited!

Tuesday, January 22, 2013

{homemade baby food}

Andersen is 7 months old today! Holy cow this little man is growing up way too fast! Here's a progress report. He sits up by himself and can stay sitting up until he decides to face plant. Last time we weighed him (a couple weeks ago) he was 18.5 lbs. He is on the verge of crawling; he scoots around pretty well. He loves real food! He eats apples, bananas (his favorite), avocados, cauliflower and sweet potatoes. 


The money savvy side of me must write about homemade baby food! If you have the time homemade is the way to go. Not only do you know what exactly is in your baby's food but it is also so much cheaper. I was at Wal-Mart the other day and I saw that you could buy 8 oz. of baby food for $0.81. That seems pretty cheap right? But compare that to the 160 oz. of avocados, sweet potatoes, cauliflower and bananas for $5.50. That's $0.10/oz versus $0.03/oz. You save over 50% if you make your own food! It only took me one nap time to make all that food so it's not that time consuming.

Here's my method for making delicious baby food. I have a Baby Bullet, which I use when I am making small quantities. But when I am making a bunch I use my Ninja Blender. Any food processor will work. After I have made the food I pour the purees into ice cube trays. Once they have frozen I pop them out and store them in freezer ziplocks with the date made on them. I stole this idea from Pinterest and I love it. If I want to combine foods for a meal I just grab one of each cube and let them thaw out together. Anders' favorite combo is apples and bananas. Below I wrote out some recipes I use.

Sweet Potatoes
3-4 sweet potatoes
rice cereal
water

Preheat the oven to 400 degrees. Wrap the potatoes in foil and stick them in the oven for about 40-45 minutes. (After they are in the oven I make the rest of the baby food.) When they are tender to the touch they are done. Let them cool. Once you can touch them, unwrap them and pull the peel off at one end and squeeze out the potato. It should squeeze right out into the blender. Once the potatoes are in the blender I put in about a cup of rice cereal and blend it. If your baby is between 4-6 months you will want to thin out the puree; just add water until it reaches the consistency you want. The older your baby gets the thicker your puree can be.

Avocados
3-4 avocados
rice cereal
lemon juice
water

Cut each avocado in half and remove the pit. Scrape out the good stuff into the blender. Add 1/2 cup of rice cereal and blend. Squirt some lemon juice into the mixture to keep the puree turning a gross brown. Add water to reach desired consistency.

Cauliflower
1 head of cauliflower
rice cereal
water

Cut the cauliflower up and steam it (I use the steamer bags....so easy). Put in blender and add 1 cup rice cereal and blend. Add water to reach desired consistency.

Bananas
5-6 bananas
oatmeal
water

Peel, put in blender, add 1 cup oatmeal (I use the boxed baby oatmeal; you can grind down regular oatmeal if you want) and blend. Squirt some lemon juice into the mixture to keep the puree turning a gross brown. Add water to reach desired consistency.

**I just buy all natural, no sugar added applesauce for Anders. It is cheap and so much easier than making it from scratch.

Anyway back to talking about Andersen! Lately, his new favorite toy is the diaper box. It keeps him so entertained I love it! So today we played with the box, took two naps (hallelujah!), snuggled, and took a lot of pictures!


Face Plant!


{christmas}

I'm still trying to catch up on my blogging. I think this is the last catch up post! Yay. For Christmas we went down to St. George to my parents' house. It was a lot of fun. Christmas Eve Anders opened up a present from Mom and Dad. He really did open it! Apparently the wrapping paper is way cooler than the present to babies....


Garett was capturing all the precious moments ; )
We got him The Night Before Christmas and read it to him that night. I kind of want it to be a tradition along with the actual Christmas story. Christmas Eve we also took some Christmas pics of Anders and the tree. That was fun until we put on the Santa suit....he did not like that very much haha.


I was so excited for this Christmas, obviously because it's Anders' first Christmas! And boy was that little monster spoiled! Both grandparents were way too good to him! He really enjoyed opening all his presents. Ahhh he was just so stinkin' cute! My mom found Anders' stocking at Down East for $2.50! Score! I made Garett's stocking because his was at his parents' house. I found the BYU fabric in the remnant pile at JoAnn's for like $5. I made one for me and a little one for Anders for decoration. Love them! Here is the pattern I used.

Johnson Family Loot!

Opening up presents from Mom and Dad...I mean from Santa....
My baby is adorable!

Moose Man!


Garett got a new Livestrong phone case. Even with the Lance Armstrong scandal his charity has still done amazing things in the cancer field so we still wear our Livestrong bracelets with pride. Garett had cancer. When he was in the MTC (Missionary Training Center) he was diagnosed with Hodgkin's Lymphoma. One of his companions gave him a Livestrong bracelet and told him to find something to live strong for. Garett said it stuck with him ever since and now we both wear the bracelet.

My mom made Andersen a blanket out of my late grandpa's flannel shirts. It was so awesome! Now Anders has a little bit of his great-grandpa to hold on to. It is such an amazing idea. Hmmmm.....I will have to do something similar to this....stayed posted : )


Anders LOVES his blanket!

We love this game! It's called Dominion and it rocks!
It was a great Christmas. Andersen was so fun. I am so thankful for our little family. I love my boys and I love being a mom and wife.